 |
| I have a love/ hate relationship with fleece and a very volatile relationship with velvet. I am a notoriously staticky (I know that's not a word) person. I always pull my sleeves over my hands, before I attempt to touch metal of any kind. Grocery shopping is nightmare. Every can I touch produces a shock. I've even been shocked by a zucchini! A zucchini, for god's sake. When vegetables attack, you know you have a problem. If my mate is shopping with me, he always opens doors for me. People observing, probably think he's a gentleman and I'm a stuck up bitch. They'd be half right (I won't tell you which half is right). I will tell you that it's not because of old fashioned values that he opens doors for me. Let me set the scene for you: Two people approach a door. First one stops, shakes her sleeves down over her hands and then makes many false starts at the handle, jerking back right before contact. Person behind, then becomes impatient at standing outside. He then circumnavigates first person and opens door leaving an opening under his arm pit for smaller person to dart in. So back to fleece. I can not wear fleece or velvet (or wool, cotton, polyester...) but especially fleece and velvet. If I were a superhero (which maybe I am... I can shoot lightning!), these fabrics would be my arch nemasis. They create such a charge that lightning bolts shoot from my fingertips and on occasion.... my lips. Imagine going to kiss someone and instead of a pleasant experience, you are shocked with lightning. My daughter flinches, when I lean in to kiss her. That's another one of my powers. Anyway......... This morning, I decided to use my powers and accomplish several things in the meantime. Here is a tutorial on how to eliminate evil fabrics and turn them into something useful, while also being a moral lesson on how to use ones powers for good and the benefit of others. Fleece Duster |
 |
| Supplies: scissors, needle and thread, about 36 - 48" of fleece and velvet: any color (I used an old pair of my daughter's fleece PJ's and the bottom of her velvet skirt stick, handle or wooded spoon |
 |
| This is not an exact science, but measurement of first piece is about 24" long and 7" tall |
 |
| simply roll around the stick, stitching as you go. |
 |
| I twisted the velvet gradually up the stick |
 |
| cut fleece just a little shorter than the velvet |
 |
| wrap and stitch |
 |
| should look like this |
 |
| add next piece of fleece the same way as first |
 |
| secure fleece end |
 |
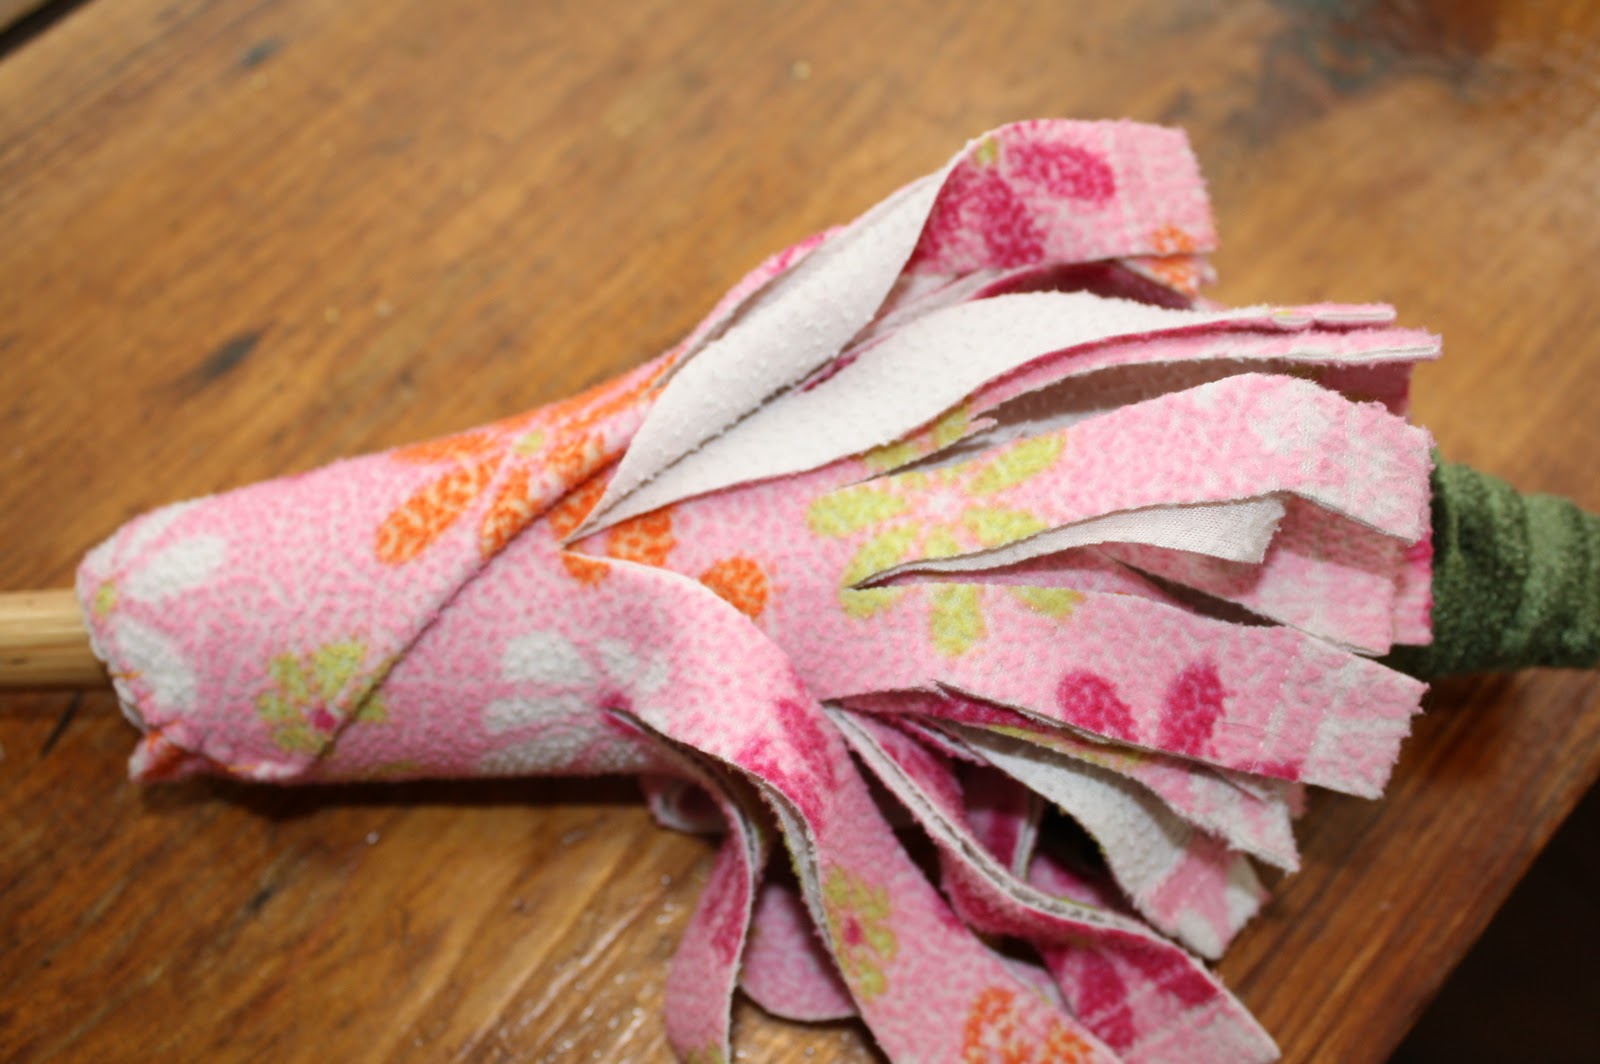
| now you have this |
 |
| randomly slice strips of fleece and velvet |
 |
| Spray with eco friendly dusting blend and beat the dust! |

 |
| Before: Gross, I know! |
 |
| After: Sweet! |
 |
| And I only knocked one thing off of the shelves! |


